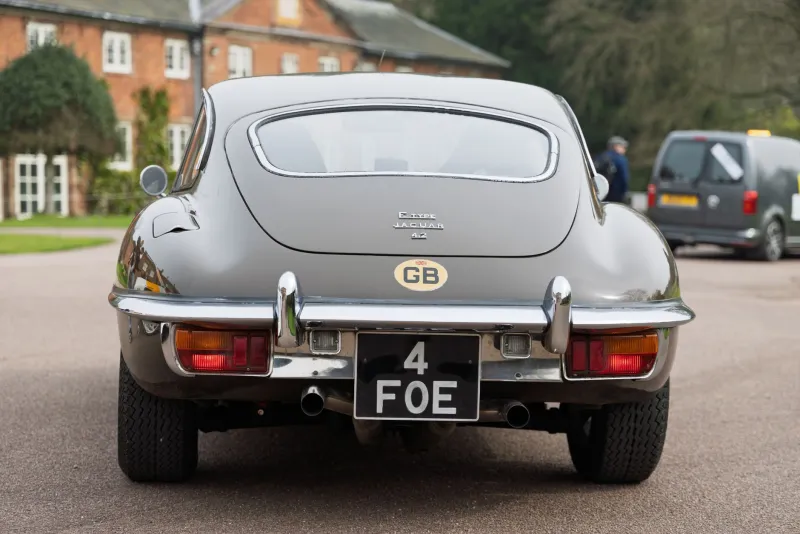
Chasing Ghosts in the Looms: A Methodical Guide to E-Type Electrics

Photo: DeFacto, CC BY-SA 4.0, via Wikimedia Commons
There is a particular silence in a cold garage when an E-Type refuses to fire. The starter turns, the dash lights glow, and you start mentally pricing a new loom. Stop. Before the parts cannon is loaded, reach for a multimeter and a wiring diagram. Most electrical faults on these cars are not mysterious. They are dirty, damp or loose, and they give themselves up to a calm, repeatable routine.
This is not a Lucas joke. It is a method for the damp back end of 2026, when UK cars spend more time under covers than on B-roads.
Start With the Battery, Not the Badge
Lucas gets blamed for faults that begin with a tired battery or a corroded earth. Check the battery at rest: 12.6V or so for a healthy lead-acid unit. Watch it while cranking. If it drops below about 10V, the ignition and fuel pump may be starved of volts before you have touched a single connector.
Clean the terminals properly. Not a quick wipe with a rag, but a proper scrub to bright metal, then a thin smear of petroleum jelly. Inspect the earth strap between engine and chassis. It lives in the firing line of oil, water and salt, and it often looks fine while conducting almost nothing. A voltage-drop test will tell you the truth.
The Multimeter Is a Calm Friend
You do not need a laboratory-grade meter. A basic digital multimeter with DC volts, continuity and resistance will do. What you need more than the tool is a wiring diagram for your car and the discipline to test one circuit at a time.
Do not pierce insulation with probe tips. That is how you create the next fault. Back-probe connectors where you can, and use a fine pin only when there is no alternative. If a reading makes no sense, check the meter settings before you check the car. More than one E-Type has been diagnosed with a dead circuit while the meter was still set to continuity.
Earths: The Silent Majority
A huge proportion of electrical gremlins are earth faults. The current has to get back to the battery, and on a sixty-year-old shell those return paths are often rusty. Check the battery-to-body earth, the engine-to-chassis strap, and the local earths behind the dash, at the lights and near the fuel pump.
Clean each earth point to bare metal. Refit with a star washer if that is how it left the factory, then protect it with a little dielectric grease. A good test is to put the meter on DC volts, connect one probe to the component earth and the other to battery negative, then switch on the load. You are looking for almost no voltage. If you see more than about 0.2V, that earth is costing you volts and causing strange behaviour elsewhere.
Bullet Connectors and the White Powder
The E-Type uses plenty of bullet connectors, and they are brilliant when clean and miserable when damp. Pull them apart. Look for white powder, green crust and blackened metal. Clean with contact cleaner and a little Scotch-Brite, then retension the female side gently so it grips again.
A dirty bullet can mimic a dead fuel pump, a failed sender or a phantom ignition cut. It can also work perfectly on the drive and fail the moment the car sits overnight in damp air. That is why intermittent faults deserve a method, not a guess.
The Fuse Box Deserves Respect
Open the fuse box and look properly. Glass fuses can look intact while the clips are corroded underneath. Clean the clips, check the fuse rating and replace any fuse that looks tired. Then measure voltage drop across the fuse while the circuit is loaded. If you see green inside the box, stop and deal with it before it spreads.
Voltage Drop, Not Just Voltage Presence
A circuit can show 12V with no current flowing and still fail under load. That is the trap. Voltage-drop testing puts the meter across the connection, not just to earth, and asks how much pressure is being lost as the current tries to pass.
Set the meter to DC volts. Put one probe on each side of the connector, fuse or switch you are testing. Switch on the load. A good connection should show very little voltage across it. If a fuse shows more than about 0.3V, or a switch shows more than about 0.2V, investigate. It is a simple idea, but it finds the faults that a continuity test misses.
The Damp-Weather Routine
When the car starts playing up in November, work through the same sequence. Battery condition and terminals first. Then main earths. Then the fuse box. Then the bullet connectors at the lamps, ignition circuit and fuel pump. Check the alternator charging voltage at the battery. Only then start looking at the ignition switch, coil and distributor.
Do not soak the loom in WD-40 and call it maintenance. Water displacers have their place, but they are not a diagnosis. Once you have found the fault, clean it, repair it properly and protect it with silicone grease or a decent connector seal.
When to Stop and Re-Loom
If you find one bad connector, fix it. If you find previous-owner crimps, melted insulation and three faults in the same loom, a new loom is not a sin. But make that decision after testing, not before. The E-Type rewards method. A meter, a diagram and an hour of patience will usually beat a box of new parts.
And when it finally starts on a cold morning, with the gauges steady and the lights bright, you will know the ghost was just a bad earth all along.